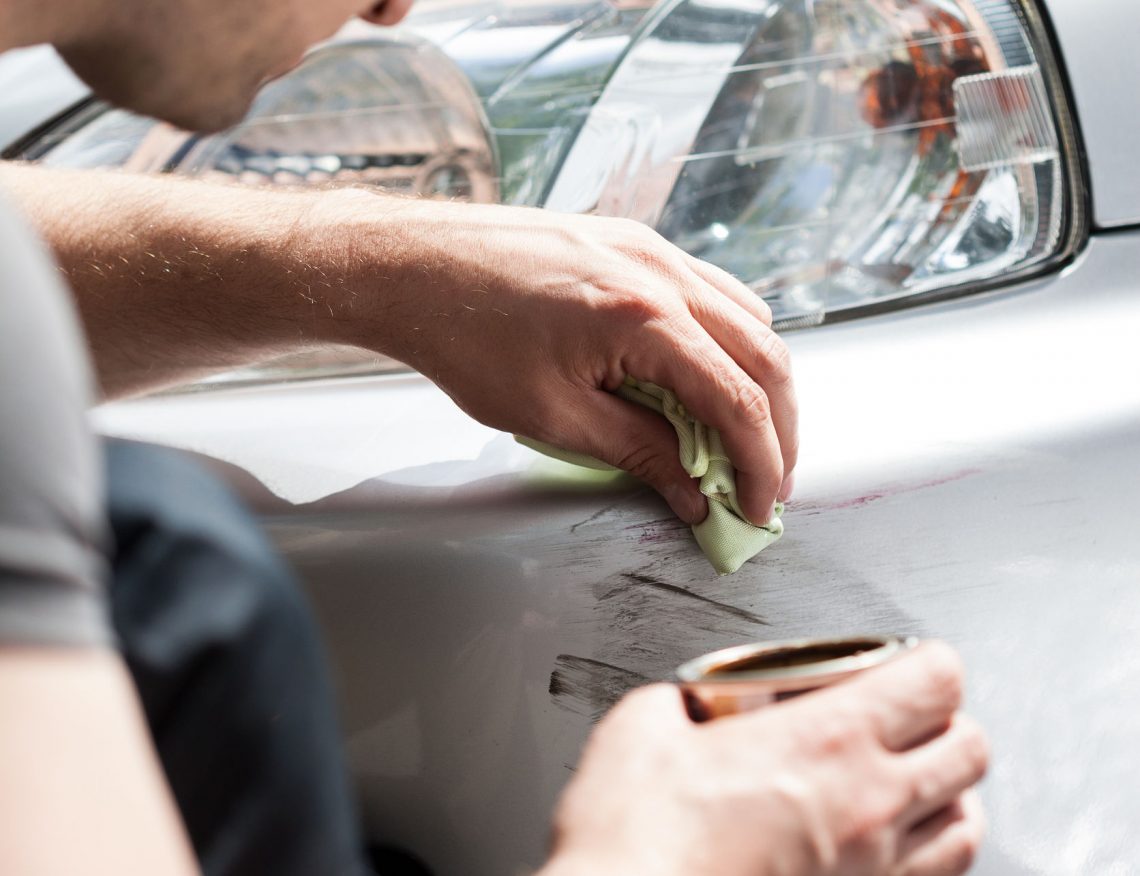
From the factory, headlights do not have a clear coat upon them; however, it’s occasionally applied to guard the headlights. In many instances, the clear coat ultimately becomes flakey, yellow, or dull, and will cause more issues than the initial dingy headlights. Remove clear coat from the headlights in order to restore them to their initial clarity. As it has been taken off, you may utilize a plastic sealer to guard the headlights from oxidation and UV rays. It may keep them clearer than a clear coat layer.
Put many strips of masking tape upon the painted surfaces that surround the headlights to shield the paint — those include the corners along the fenders, hood, and front bumper cover which are painted. Also, all chrome trim sections should be protected.
Sand headlights with 800-grit sandpaper to extract the older clear coat. Hold sandpaper flat upon the surface then evenly sand the whole headlight.
Go over headlights again with water and 1000-grit sandpaper, in the exact same way as when utilizing the 800-grit paper. It smooths out the scratches that are made by the prior sandpaper and extracts all remaining clear coat.
Once again, sand headlights with water and 2000-grit sandpaper to fully smooth the headlights. Headlights should appear cloudy and dull, yet there shouldn’t be any clearer coat upon them. Rinse headlights and permit them to completely dry.
Apply polish and plastic lens cleaner to headlights, with a cotton towel. Work the cleaner in tiny circles then cover the whole headlight. Repeat the step on all headlights several times for best results.
Utilize a microfiber towel to put on a final coating of the plastic lens cleaner, as well as polish to headlights. It’ll shine the surface of the headlights to make it appear like new.
For more information contact A+ Autoglass at (303) 680-0983.


Write a comment: